Source: dx.com
Halcyon Scout LED Conversion
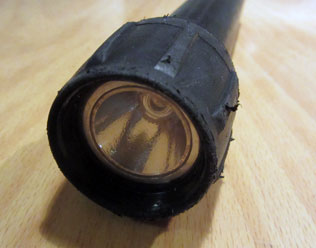
The original Scout LED upgrade kits are way too expensive IMO so when I upgraded my two lights I choose to make some myself. The following will show how I did and apparently this should also work for the UK SL4, Photon Torpedo and others.
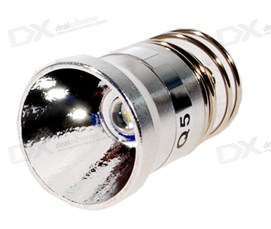
First I bought an LED module of dealextreme.com which includes LED, driver, reflector and heatsink. I prefer the R2 or Q5 but if you would like a little more output the R5 or P7 will also work but with less burn time. Get the ones without modes as they can be hard to control with a twist on/off. The module should look something like this:
Source: dx.com
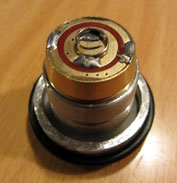
The first thing to do is to take off the large spring on the back of the LED module. It comes right off with a slight pull. The small spring can be left on but I think it works best when cut down shorter as on the picture.
The next step is to get the module to actually fit the light. It is very close but it needs to be wider to center the led and to make connection to the body of the light. This can be done with an aluminum or other conducting metal washer. If one has access to a lathe it would be quite easy to make one but I had some headset washers from a bike lying around which worked fine. The washer should be 10mm high with an outer diameter of about 35mm and inner diameter slightly smaller than the size of the LED module which is about 26.5mm. The outer diameter of my washers was smaller so I fitted an o-ring to make sure the module is centered in the light.
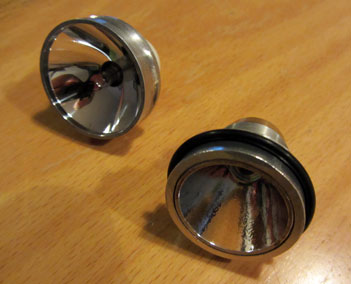
I used a vice with some wood to protect the LED module and pressed it in place in the washer. This is why the hole in the washer needs to be slightly smaller than the LED module so the fit is tight to hold the washer in place and make good connection. The following picture shows the original module on the left and the finished module on the right.
Now the new and very cheap module fits right in the light.